Quick Links
Summertime Odyssey has been a blast so far, to where some players are calling it the bestGenshin Impactevent so far. Of course, ending it with Mona’s Mirage, Temple of the Star Latitudes, is a big reason why. Ever since the new Golden Apple Archipelago update dropped, fans have been loving the interactions between characters, especially the genius Astrologist.
EachGenshin ImpactMirage features a couple of new puzzles that require some solving skills for players to be able to go through them, and the Temple of the Stars latitudes is no different. In fact, it has one of the most interesting puzzles between all five Mirages.

RELATED:Genshin Impact: Mona’s Ascension And Talent Materials List
How To Get All The Shards
Upon entering Mona’s domain inGenshin Impact, three Shards can be immediately picked up from the ground.
After leaving the mirage for the first time,Genshin Impactplayers need to follow the picture shown in the water to find the next Shard. Go to the marked location and Investigate the shiny spot near the Hilichurl.

AfterGenshin Impactplayers get out of Mona’s domainfor the third time, follow the picture on the pond and Investigate the shiny spot near the pressure plates to get a Shard.
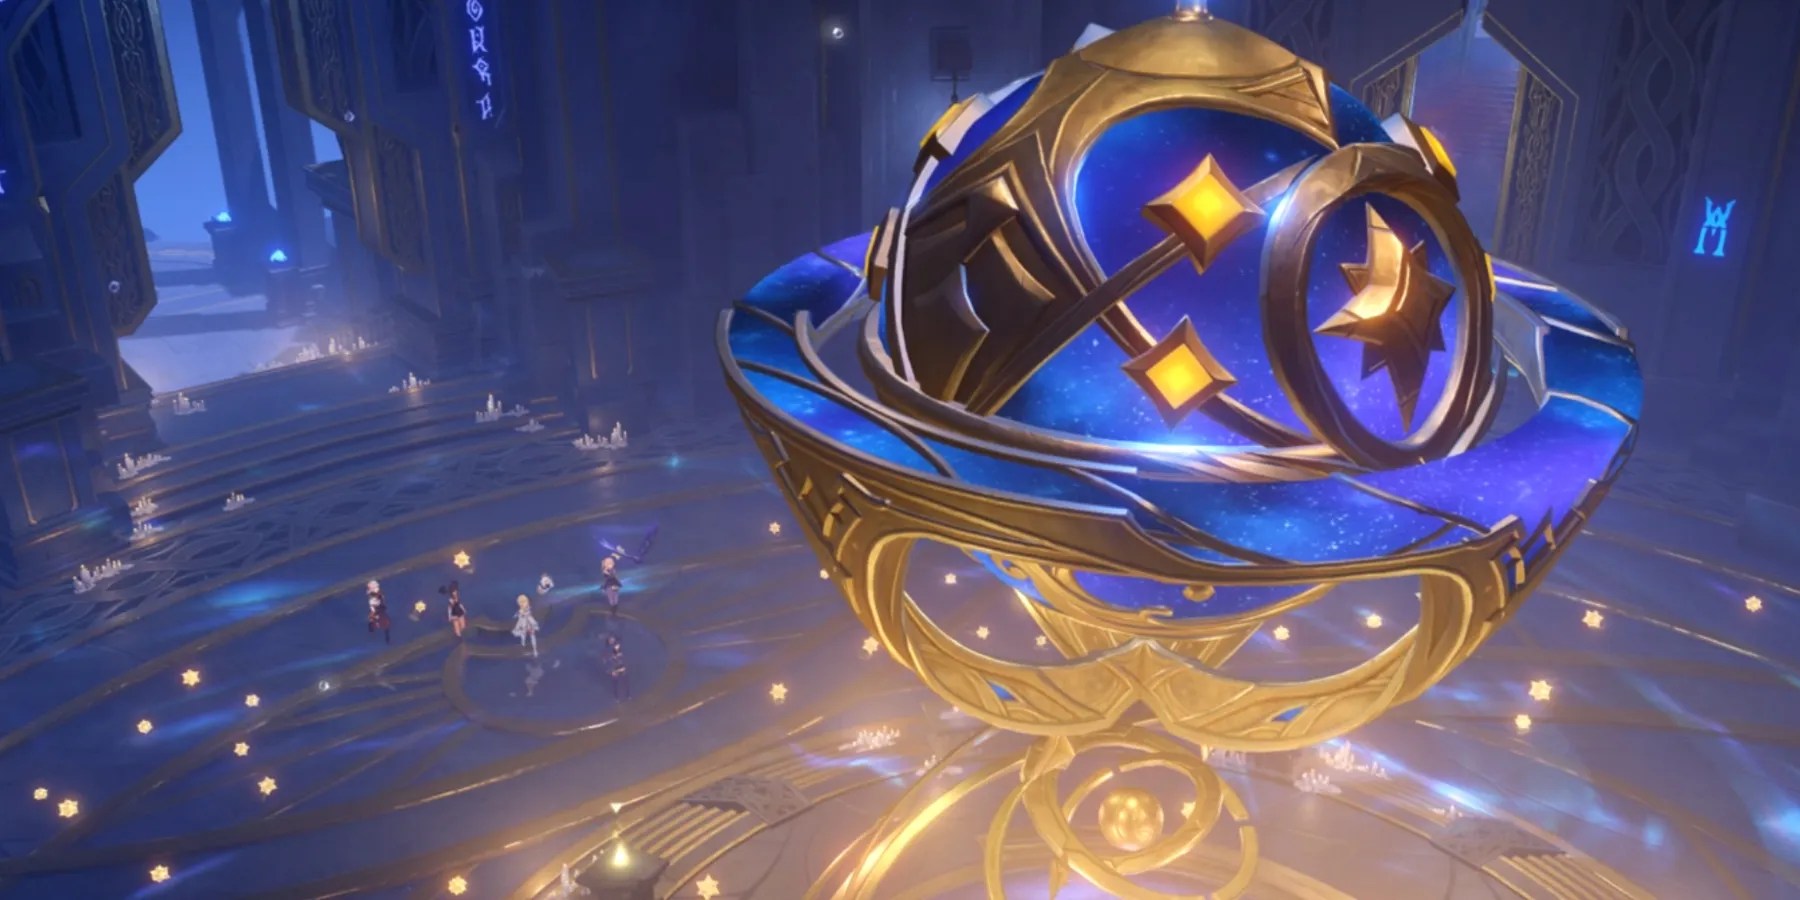
How To Solve All Astral Puzzles
There are four doors in total, and a fifth one will open near the end.
The first door has four puzzles.
1st Puzzle
Solving the first puzzle requires recreating the shape in the sky using the star guides on the grounds. The first one is the tip of the shape. Use it to make a triangle and then make a straight line in its middle. Join the rest of the star guides to complete it.
The second puzzle is split into three parts.
Part one
While facing the star guides, use the one on the far left tobegin drawing theGenshin Impactpuzzle. Follow the shape, and it will be finished.

Part Two
Like the previous part, start from the one on the lower left to complete this shape. One star guide should be unused.
Part Three
To finish this part, begin connecting the star guides from the upper left corner. From there, follow the path until all the stars are lit.
3rd Puzzle
Finishing all three parts will unlock a hidden room. Follow the arrow to enter. Inside, players need to replicate the shape on the ground using the four pressure plates.
Keep stepping on the pressure plates until all parts are identical to the one on the ground.
4th Puzzle
From the pressure plates puzzle, go back to the room before and jump down to the water. Starting the challenge of the Starry Sky will unleash hundreds of shooting stars, andGenshin Impactplayers must dodge themto win. After getting hit ten times, the challenge will reset.
The second door only has two puzzles.
Activate the mechanism in the middle to reveal a shape. While facing the star guides, use the one north of the mechanism as a meeting point.
RELATED:Genshin Impact: Shikanoin Heizou’s Best Build
First, create a straight line using the two situated southeast and southwest of the mechanism, and then create a triangle with the tip being the meeting point. After that, all the scattered stars join them with the latter to finish the puzzle.
2nd Puzzle
Players also need to create a specific pattern for the second puzzle.
RELATED:Genshin Impact: How to Adjust the Night Raven’s Sight Line to Solve the Puzzle

The third doors have five puzzles.
To finish this puzzle, Travelers need to recreate the shape of the water in the room to the right using the star guides.
To solve this puzzle, hit the Hydro Amber to reveal the rest of the shape.

After that, join all the star guides together in a form that resembles a bit of a square.
Use Elemental Sight to uncover a hidden path. Next, hit a second Hydro Amber to reveal the reflection of an Exquisite Chest.

Here, use one of theGenshin ImpactHydro charactersto hit the Monument closest to the second hidden path. This will cause water to appear on the ground, and players must match each Monument to its respective reflection Element on the ground.
5th Puzzle
Same as before, one of theGenshin ImpactPyro charactersis needed for this part. Break the pile of rocks to the left and light the torches that are lit according to their reflection.
The fourth door has three puzzles.
Approach the star stuck in the wall on the left side of the star guides and release it to see what shape to follow.
Join the star guides on each corner to form a giant triangle, and then use the ones in the middle to complete the puzzle.

Activate the left mechanics twice to view the shape thatGenshin ImpactTravelersneed to follow. Use the star guide on the far right corner and connect it to the following one. Repeat the steps until players finish the shape with the first star guide.
Proceed forward and jump on the platforms to reach the other side while collecting three scattered stars.

Put the correct shard in the mechanism to reveal a shape on the roof. From the room’s entrance, connect the star guides until players reach the opposite platform.
5th Door
Enter the fifth door aftercompleting theGenshin Impactquestto find one last puzzle. Face the puzzle and step on the right one, then on the left. Next, walk to the one ahead, then the remaining one to solve the puzzle.
Genshin Impactis now available on Mobile, PC, PS4, and PS5. A Switch version is in development with no confirmed release date.

